[ home | blog | portfolio | animation | Shrek 2 motion graphics | Shrek 2 production stills | rock photos ]

Retouched Shrek 2 Characters, Page 1 - 2 - 3 - 4 - 5 - 6 - 7 - 8 - 9

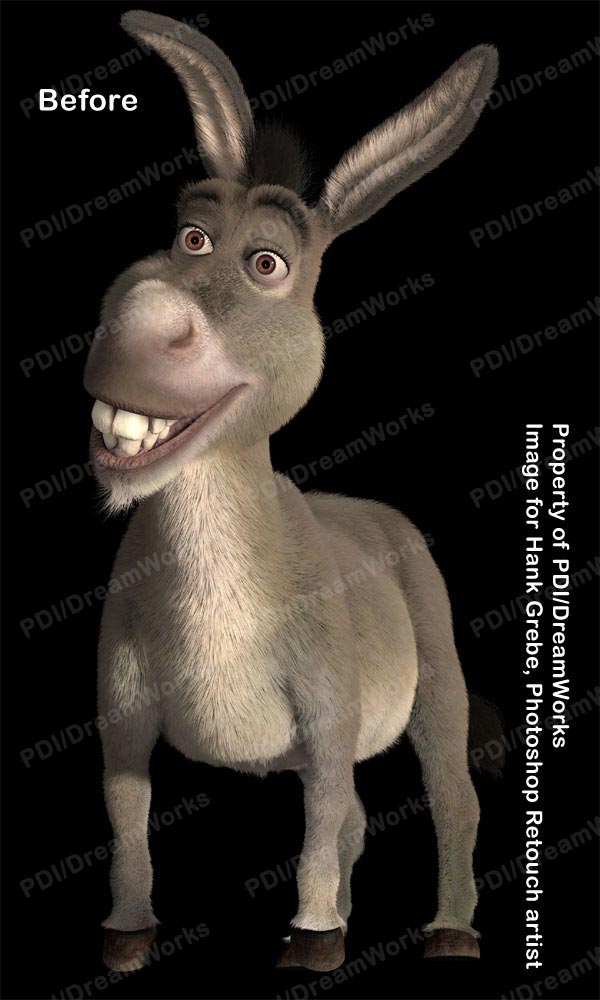
Photoshop Retouching of Large High Resolution Shrek 2 Image
Roll Mouse Over Image to Toggle Before and After Views

Move your mouse over me

Photoshop Retouching of Large High Resolution Shrek 2 Image
Roll Mouse Over Image for Before-After Views

Hank's Photoshop Retouching Tips and Tricks
  • Do not paint on the original layer. Save it as your base layer.
  • Create new layers for retouching efforts, create a group for many layers if necessary.
  • Name your layers or groups to stay organized.
  • Use the selection and feathering tools to isolate elements.
  • Most high resolution 3D renderings need work, so do not hesitate to fix with artistic painting.
  • Use the cloning tool brush, to duplicate the grain and nuance from the original image.
  • Take advantage of the "Lighten" and "Darken" brush settings.
  • Use large, soft brushes at under 10% opacity for subtle erasing, lightening, and shading.
  • Be prepared to use Undo and History for multiple undoing.
  • Of course... use a pressure sensitive painting tablet , such as the Wacom.


Retouched Shrek 2 Characters, Page 1 - 2 - 3 - 4 - 5 - 6 - 7 - 8 - 9

[ home | blog | portfolio | animation | Shrek 2 motion graphics | Shrek 2 production stills | rock photos ]